
Project Journal · Baths
Types of Shower Pans
The part of your shower nobody photographs, and the one that decides whether it's still dry in fifteen years.
By Les Key, Licensed Architect · November 2026 · 7 min read
You walk into the primary suite of your dreams. The stone on the floor flows seamlessly into the shower, separated from the room only by a sheet of glass, if that.
Everyone notices the tile in a new shower: the illuminated niche, the handles and hardware, the number of shower sprays. Almost nobody asks about the pan underneath, and that is the part that decides whether the shower is still dry in fifteen years.
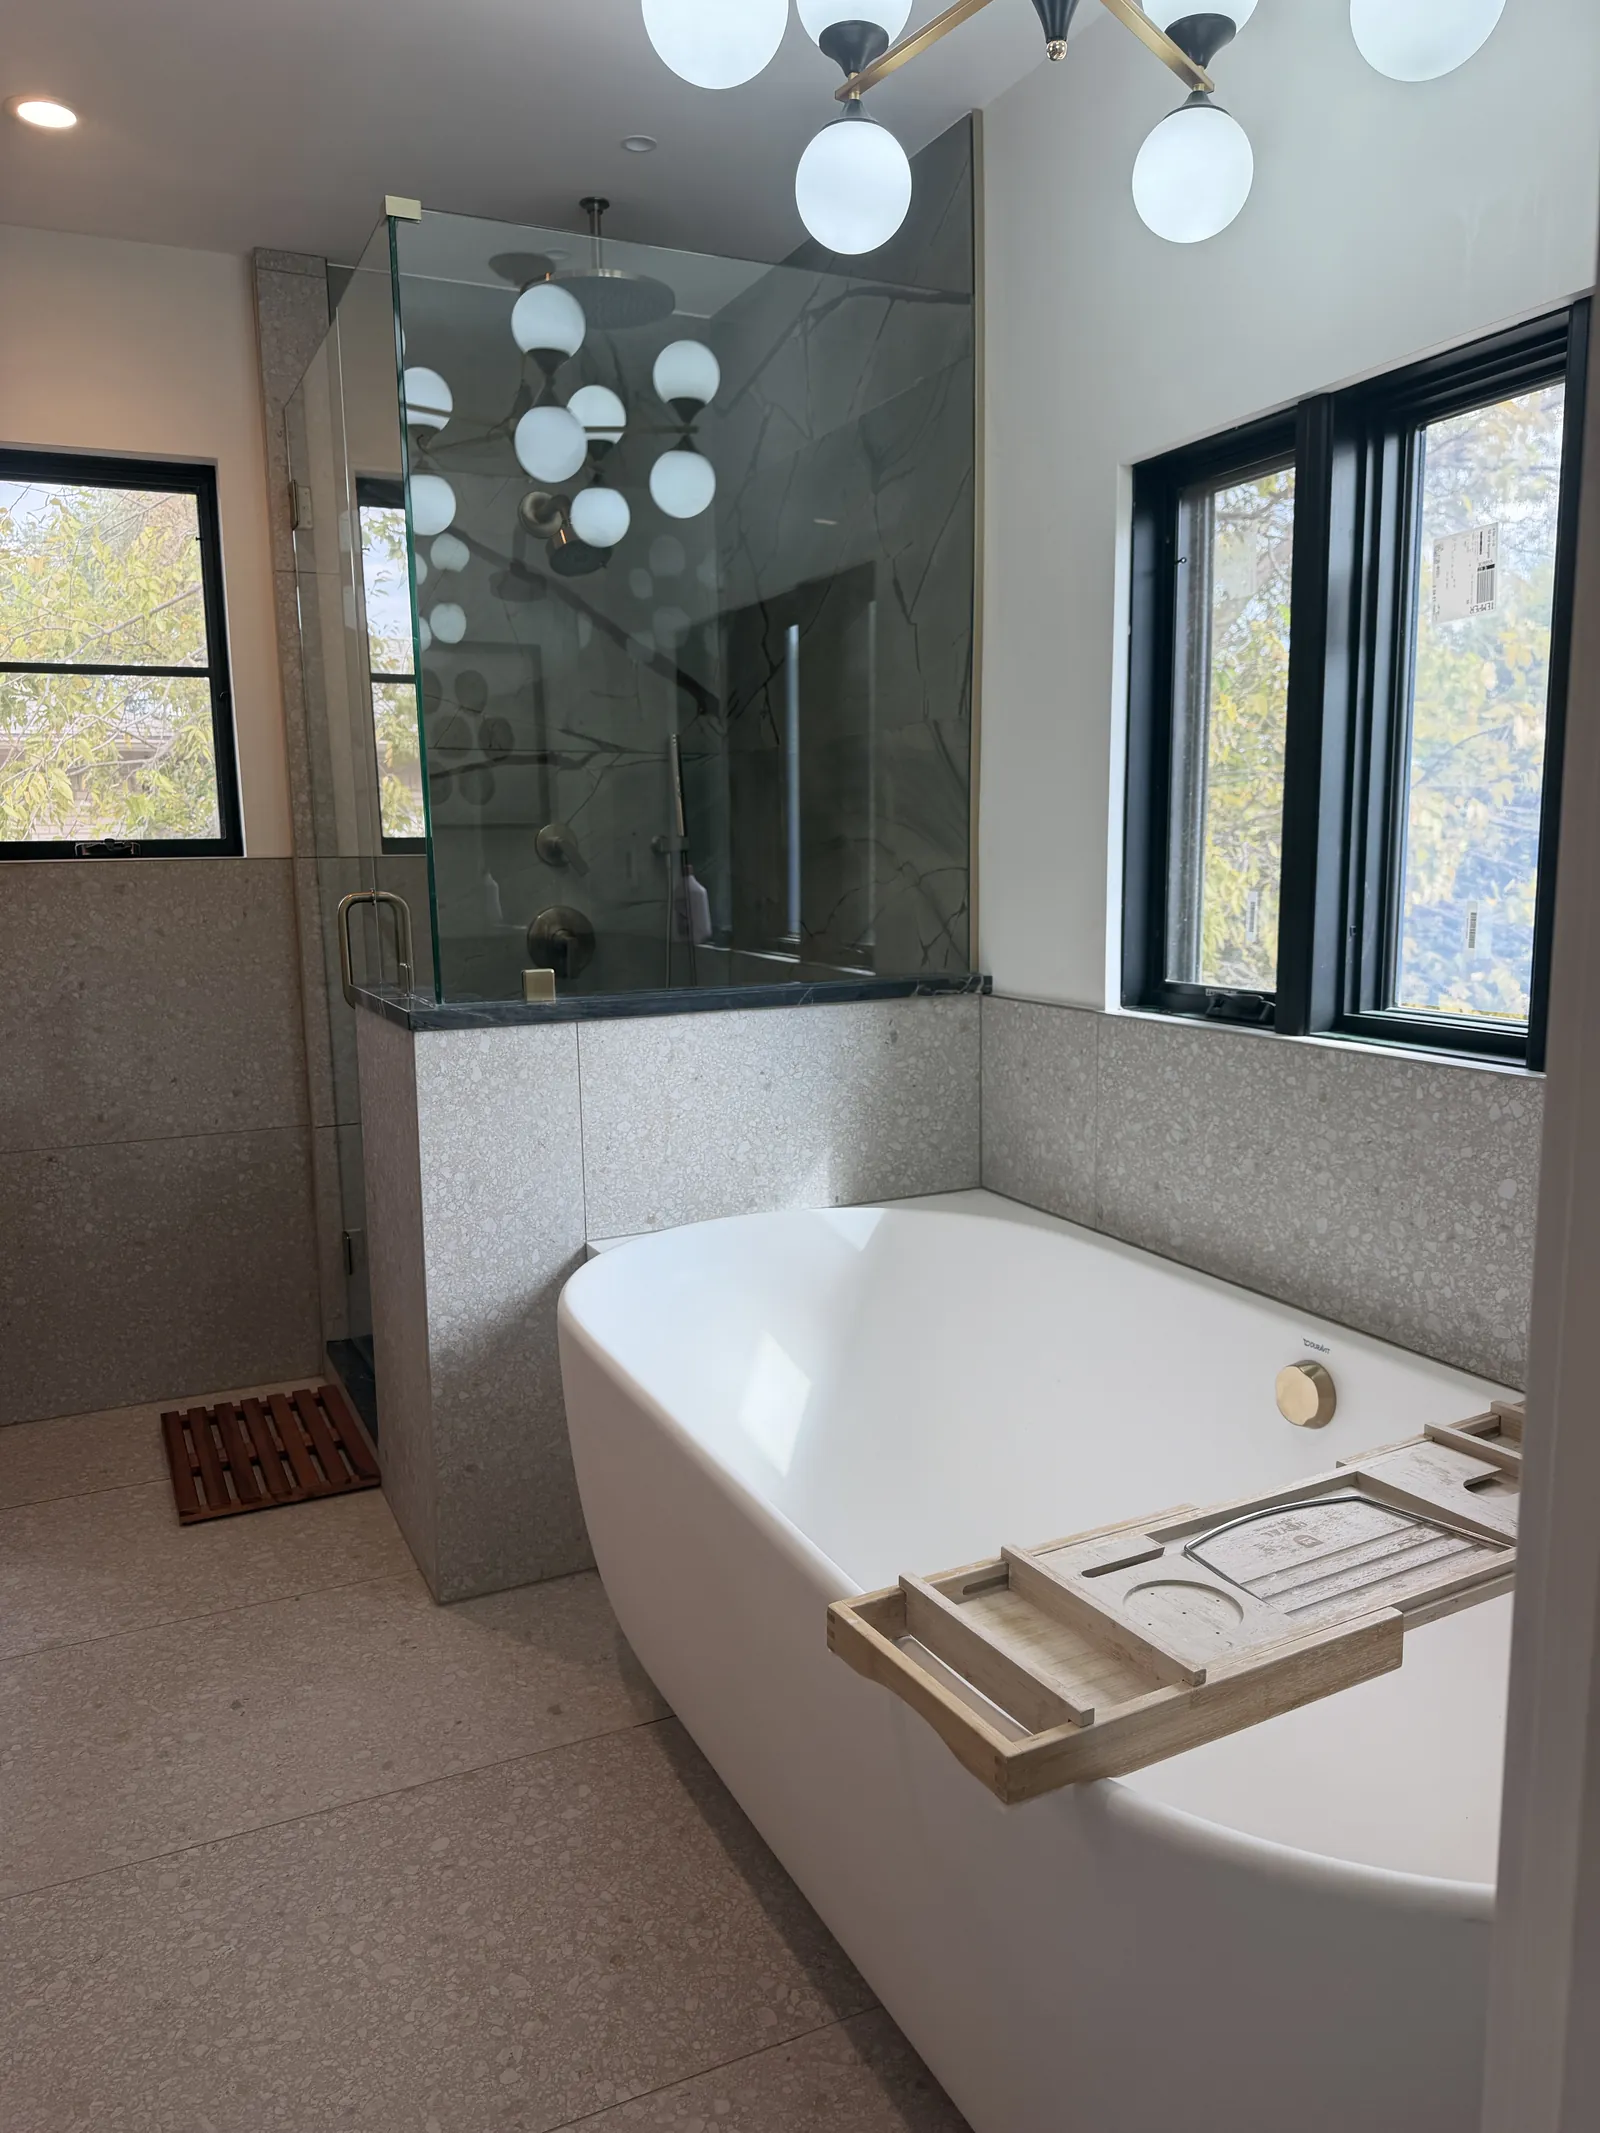
Anatomy of a shower
Showers come down to a handful of parts.
The pan
The sloped, waterproof floor under the tile. Its job is simple: catch every drop that gets past the grout and send it to the drain.
The walls
Second chair to the pan, but they still take a beating from water trying to get in.
The curb
The step you cross to get in. It holds back a few inches of water if the drain ever gets blocked.
The pony wall
A half wall that gives a solid, structural transition from room to shower, with glass above for openness and concealment below. Often capped in stone as an accent.
The niche
A ledge built into the wall for soap and shampoo. It can be a feature that accents a wall, or a way to keep the everyday out of sight.
How shower pans got here
Every generation of shower pan was built to fix the leaks of the one before it.
- 1
Hot mop
Layers of tar paper sealed with hot asphalt, mopped onto the floor and a few inches up the walls. It was the Texas standard for decades, and plenty of 1950s and 1960s Dallas showers still sit on one.
- 2
Mud set
A sloped mortar bed with a waterproof liner of PVC or CPE clamped into the drain, and a second mortar bed on top for the tile. Built by hand, by skilled setters, to any shape.
- 3
Membrane waterproofing
Liquid-applied and sheet membranes put the waterproofing right under the tile, tied into a bonding-flange drain. The mortar and backer stay dry, unlike the first two methods, which let the mortar bed saturate. Those older drains had perforations at the base to let moisture out, and rusted drains and poor installation made them a very common failure point.
- 4
Fiberglass pans
Molded fiberglass and acrylic bases gave a quick, cost-effective, one-piece floor with no tile at all, at the cost of set sizes, less durability and a plainer look.
- 5
Rigid foam board
Waterproof rigid foam panels and pre-sloped foam trays are lightweight and faster to install. They have proven themselves, and dozens of manufacturers now make very similar products. Systems range from membrane waterproofing over every surface to a liquid-applied urethane sealant at the joints alone.
- 6
One-piece tile-ready pans
The latest product, from makers like Tile Redi: a single molded pan, pre-sloped, with the curb, splash walls and drain built in. Like foam pans, it is fully waterproof from the factory. The installer connects the drain and is ready to water test. The selling point is that the troublesome failure points are sealed at the factory, which removes installer error. They can be built to match site dimensions, at the cost of long lead times.
A quick word on walls. Much like pans, shower walls evolved from mud-set walls, mortar floated over metal lath, to plaster, then cement backer board, which is not waterproof on its own, to today's more common rigid foam systems.
The main types today
01
Traditional mortar bed with a liner
A setter floats a sloped mortar layer, lays a PVC or CPE liner over it, clamps it into the drain, then floats a second bed on top for tile. Any size or shape. The catch: the top bed soaks up water and stays damp, and the drain's weep holes have to stay clear. When they clog, you get the musty smell and dark grout lines people blame on bad tile. Truly outdated, though still available and fairly cost-effective.
02
Mortar bed with a bonded membrane
Same sloped bed, but the waterproofing goes on top of it. A liquid membrane such as Hydro Ban, or a sheet membrane, goes right under the tile and ties into a bonding-flange drain. Water stops a fraction of an inch below the tile, so the mortar stays dry. It keeps the freedom of a site-built floor and fixes the old method's biggest weakness.
03
Foam tray systems
Schluter Kerdi-Shower, Wedi Fundo and Revolutionary Shower Systems' Pro Series replace the mortar bed with a pre-sloped, CNC-milled foam tray. The slope is set at the factory, so it is consistent every time. A perfect slope, complete waterproofing and fast installation are the big wins. Trade-offs: cost, sizes that only trim so far on some systems, and the need to use matching or compatible drains and membranes.
04
Preformed bases
Acrylic, fiberglass and cultured-marble bases, molded and ready to use out of the box, with no tile on the floor. The fastest and least expensive option, and the right call in a rental or a secondary bath. Set sizes, they need full support underneath or they flex and crack, and they rarely give the look people want in a primary bath.
05
One-piece tile-ready pans
A single molded pan with the curb, splash walls and drain built in, from makers like Tile Redi. Waterproof out of the box: no mortar bed to float, no membrane seams to seal, and tile installs right on it, in hours instead of days. Like a foam tray, it comes in set sizes and drain layouts, and the floor under it has to be flat and solid.
| Type | Where the water stops | Best for | Watch out for |
|---|---|---|---|
| Mortar bed with liner | Liner buried under the mortar | Odd shapes, old-house repairs | Damp mortar, clogged weep holes |
| Mortar bed with bonded membrane | Just under the tile | Custom sizes and curbless showers | Membrane thickness and drain tie-in |
| Foam tray system | Just under the tile | Standard sizes, fast schedules | Cost, size limits, installation knowledge |
| Preformed base | Surface of the pan | Rentals, secondary baths | Flex and cracking, set sizes |
| One-piece tile-ready pan | Just under the tile | Standard layouts, fast schedules | Set sizes, flat and solid subfloor |
Drains and curbless showers
A curbless shower, with no step, gives a barrier-free entry, but the pan still needs its slope to the drain. The floor has to make room for that slope at the framing stage. On a wood-framed floor the joists are often recessed or notched to drop the shower area. On a slab, which most newer Dallas houses sit on, the concrete under the shower may need to be cut out and lowered. It is very doable, but it belongs in the plan from day one, not as a change once demolition is done. The drawback: if the drain is ever slow or clogged, water spreads quickly outside the shower.
Waterproofing is the real decision
Tile and grout are not waterproof. Grout is porous, and water gets behind every tiled shower. What matters is where that water is stopped and how it gets out.
Our standard at Threshold keeps evolving with the technology, and the system is chosen project by project, based on the application and the substrate we're working with. Our order of preference:
- 1
Factory-waterproofed cementitious wall boards
Seams sealed with the manufacturer's compatible urethane sealant.
- 2
A membrane system for very large areas
One that supports waterproof banding without the use of thinset.
- 3
Liquid-applied membrane
Such as Hydro Ban, rolled on in measured coats over the floor, walls, niche and curb and tied into the drain. It is common, but prone to installer error: manufacturers require a precise mil thickness over multiple coats to stand behind the product, and we have seen too many failures from poor installation.
24hrs
Before any tile goes down, on any type of system, we plug the drain and flood the pan for 24 hours to check for leaks. It costs a day of schedule. Finding a leak after the tile is set costs the whole shower.
What we find in older Dallas baths
Many 1950s and 1960s homes in Lake Highlands and around Dallas still have their original showers. Under the tile we often find a hot-mopped pan, layers of tar paper and hot asphalt that were common in Texas for decades, or a lead or copper pan in older houses. Some have lasted remarkably well, but we get quite a few calls because these original pans have failed. Most are well past their working life, and any of them disturbed during a remodel gets replaced, not patched.
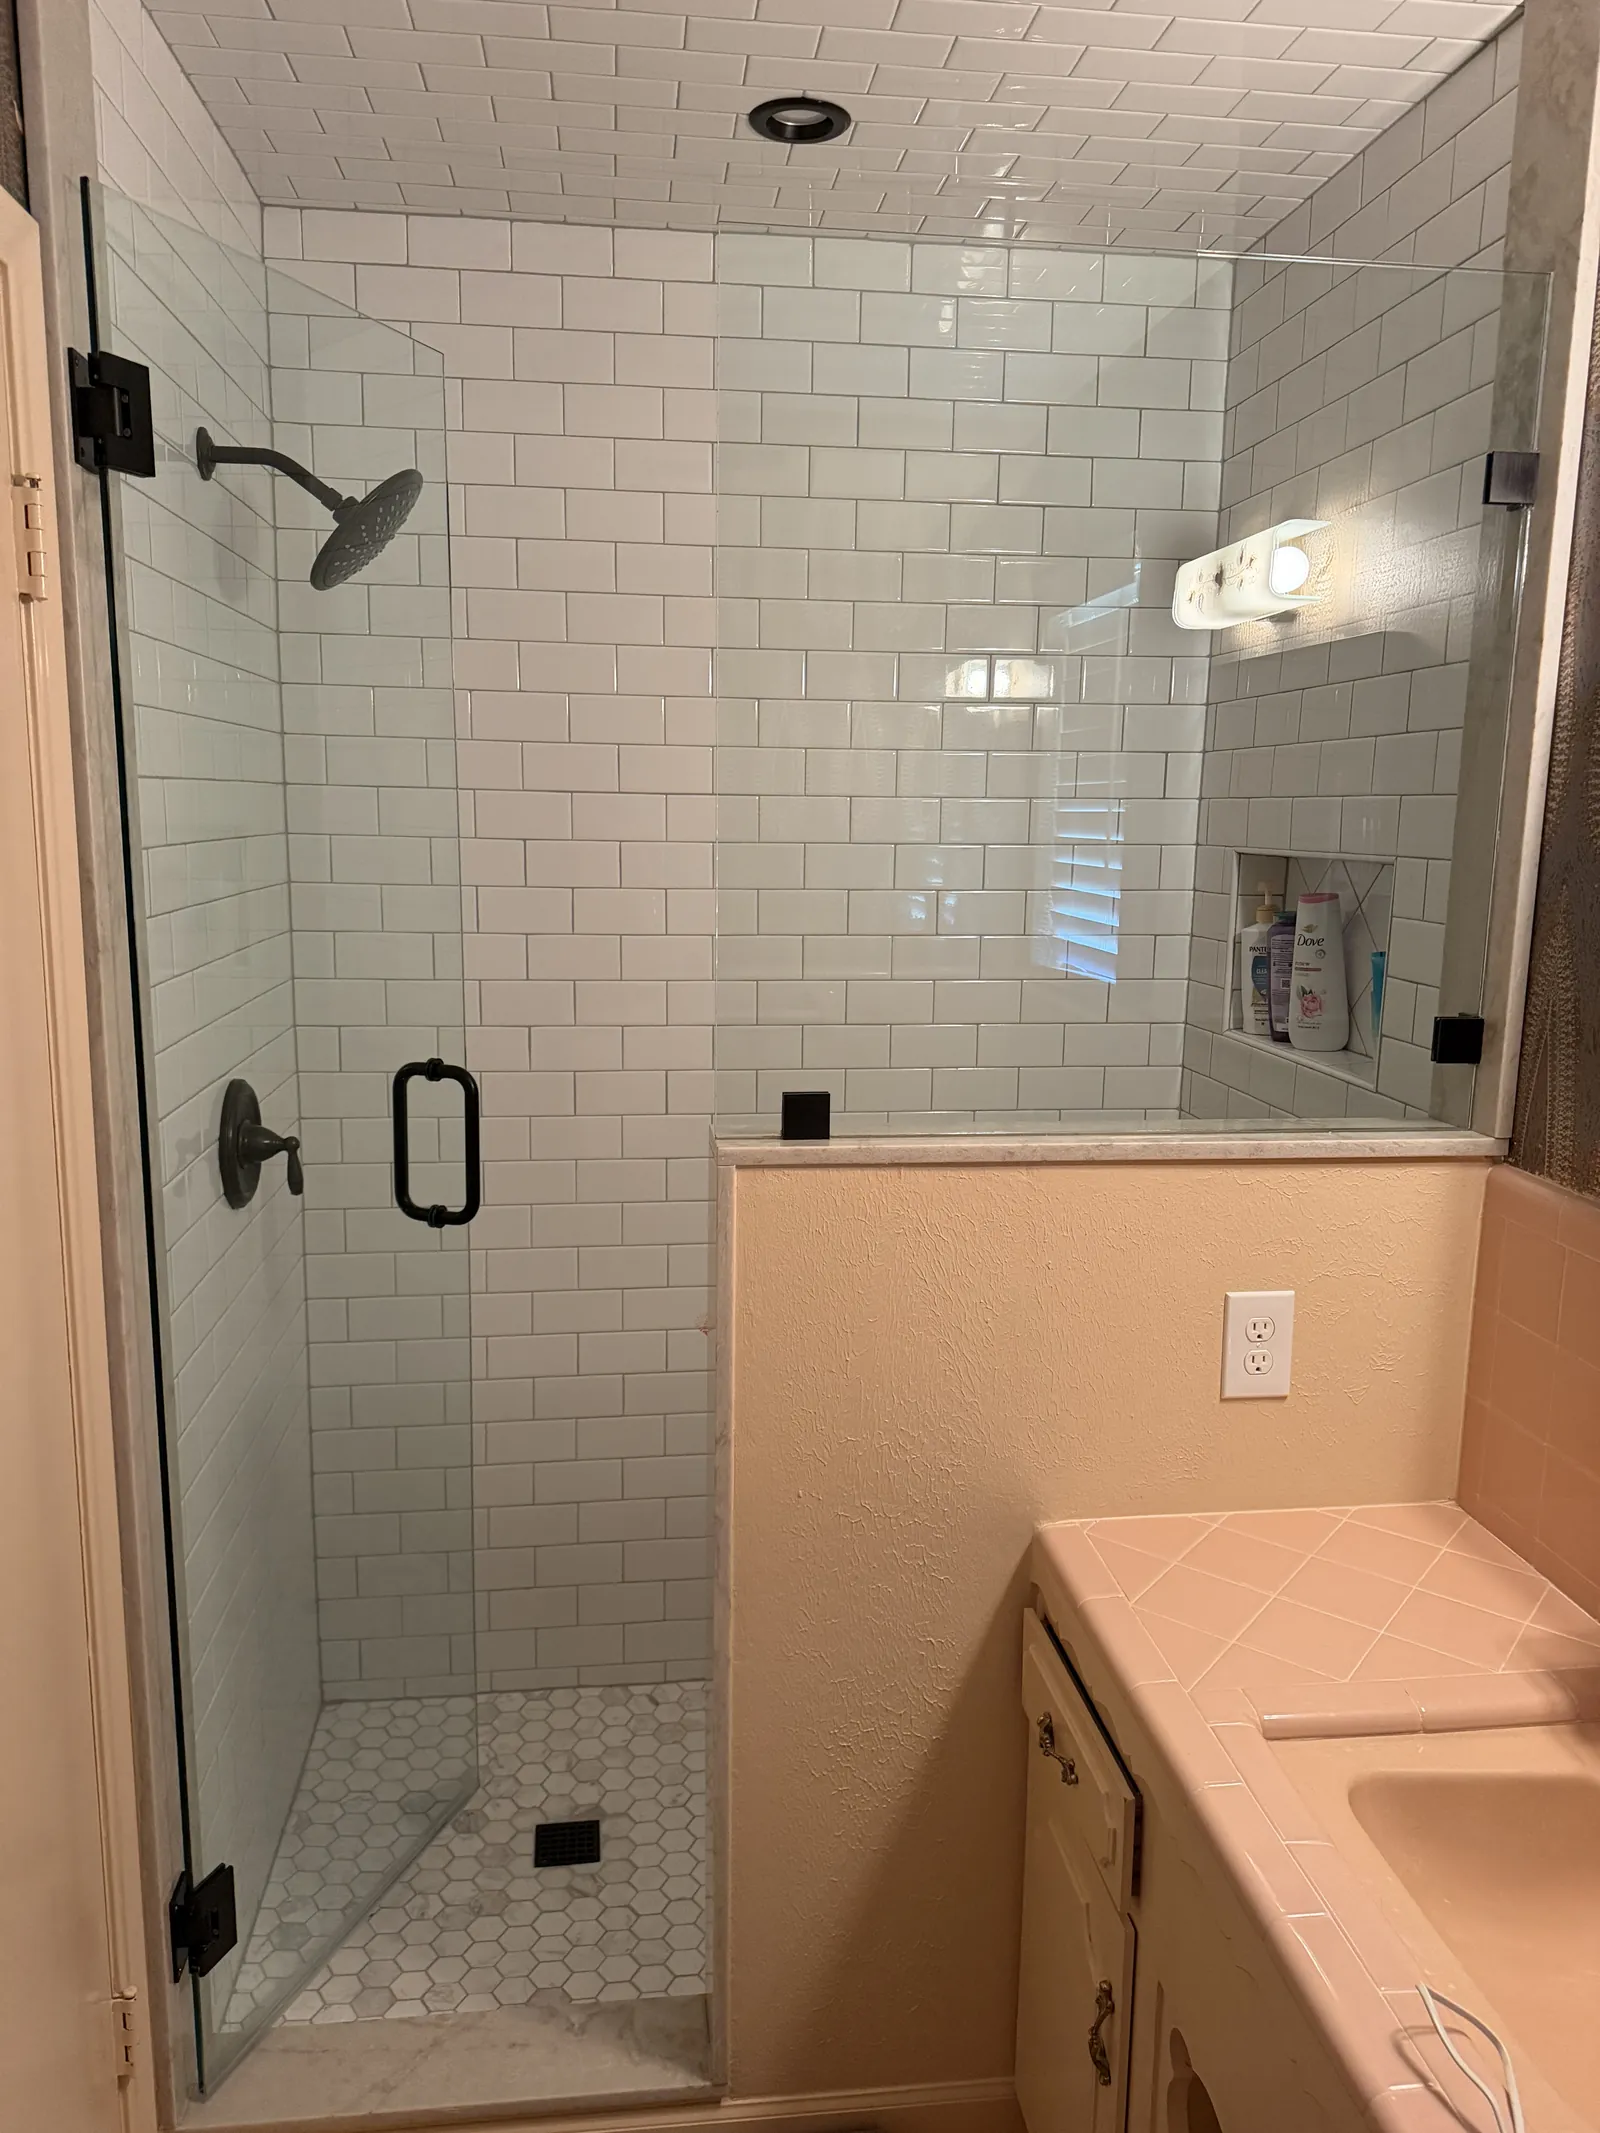
The house around the pan matters too. Our expansive clay soil moves the slabs, and older plumbing under the slab can shift with it. When we open up a shower, we check the drain line and the slope before deciding how to rebuild. On one recent bath, the owners loved their original tile, so we went to great lengths to rebuild the shower and keep the rest of the 1950s bath.
How to choose
Start with three questions:
What size and shape is the shower, and how much time do you have before construction?
Standard sizes open every option. Odd sizes, benches and curbless entries change the conversation to either a site-built mud pan or a modern rigid foam system.
What tile do you want on the floor?
Large-format tile works best with a linear drain, and small mosaics follow a center-drain slope easily. Larger tile can work in smaller showers with what's called an envelope cut, but it can be slicker underfoot, depending on the surface, and takes more skill to install with a traditional drain.
How long will you be in the house?
In a rental or a secondary bath, a quality preformed base is a sound choice. In a primary bath you plan to live with for years, it is worth building to a higher standard.
Whichever pan goes in, the waterproofing and the flood test are what we won't skip.
Planning a bath remodel?
Tell us about it, and we'll walk the space and tell you what's under your current shower before you pick a single tile.